


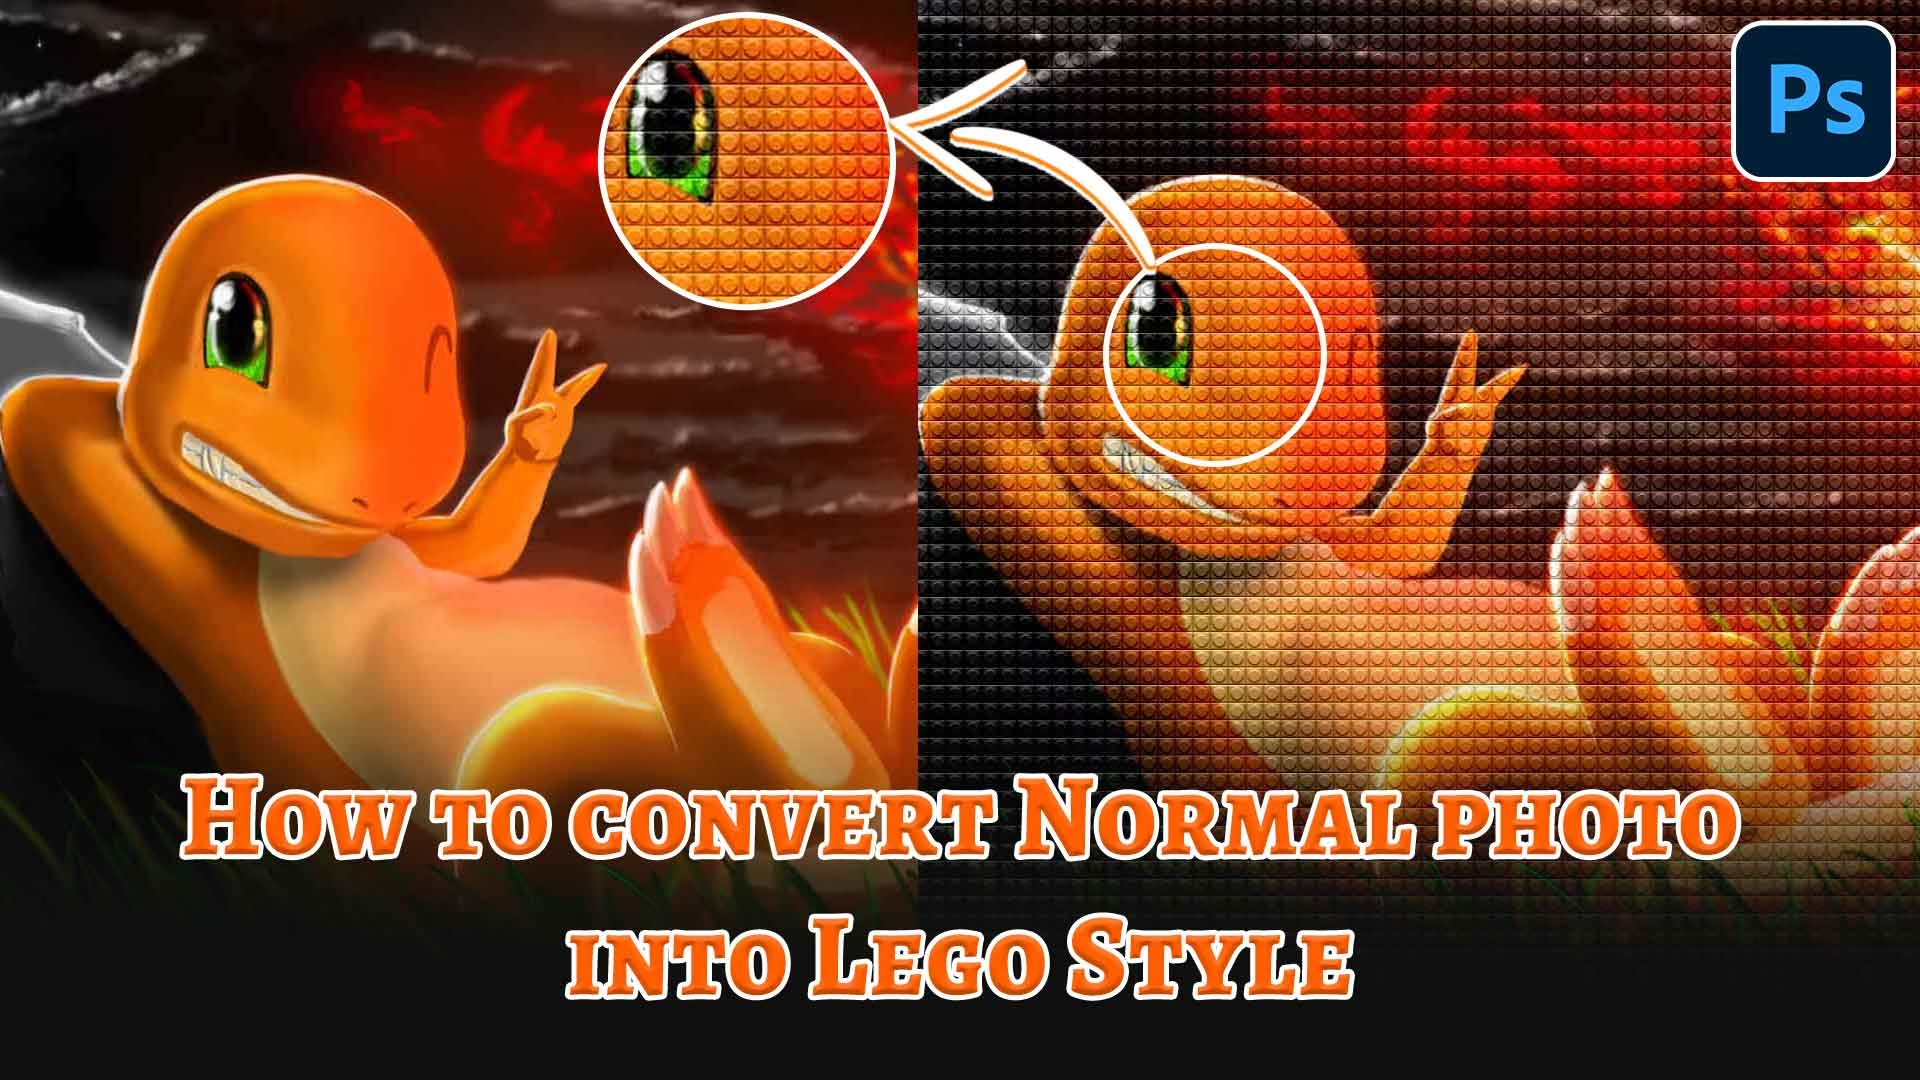
Transforming an ordinary photo into a LEGO-style artwork is one of those fun Photoshop experiments that instantly grabs attention. It mixes creativity with technical precision—turning pixels into colorful plastic bricks. In this tutorial, you’ll learn how to recreate that signature LEGO texture and look, step by step, using simple Photoshop tools. Whether you’re a designer looking to add a playful twist to your work or just exploring new effects for your images, this process will show how easily a normal photo can become a vibrant LEGO masterpiece.
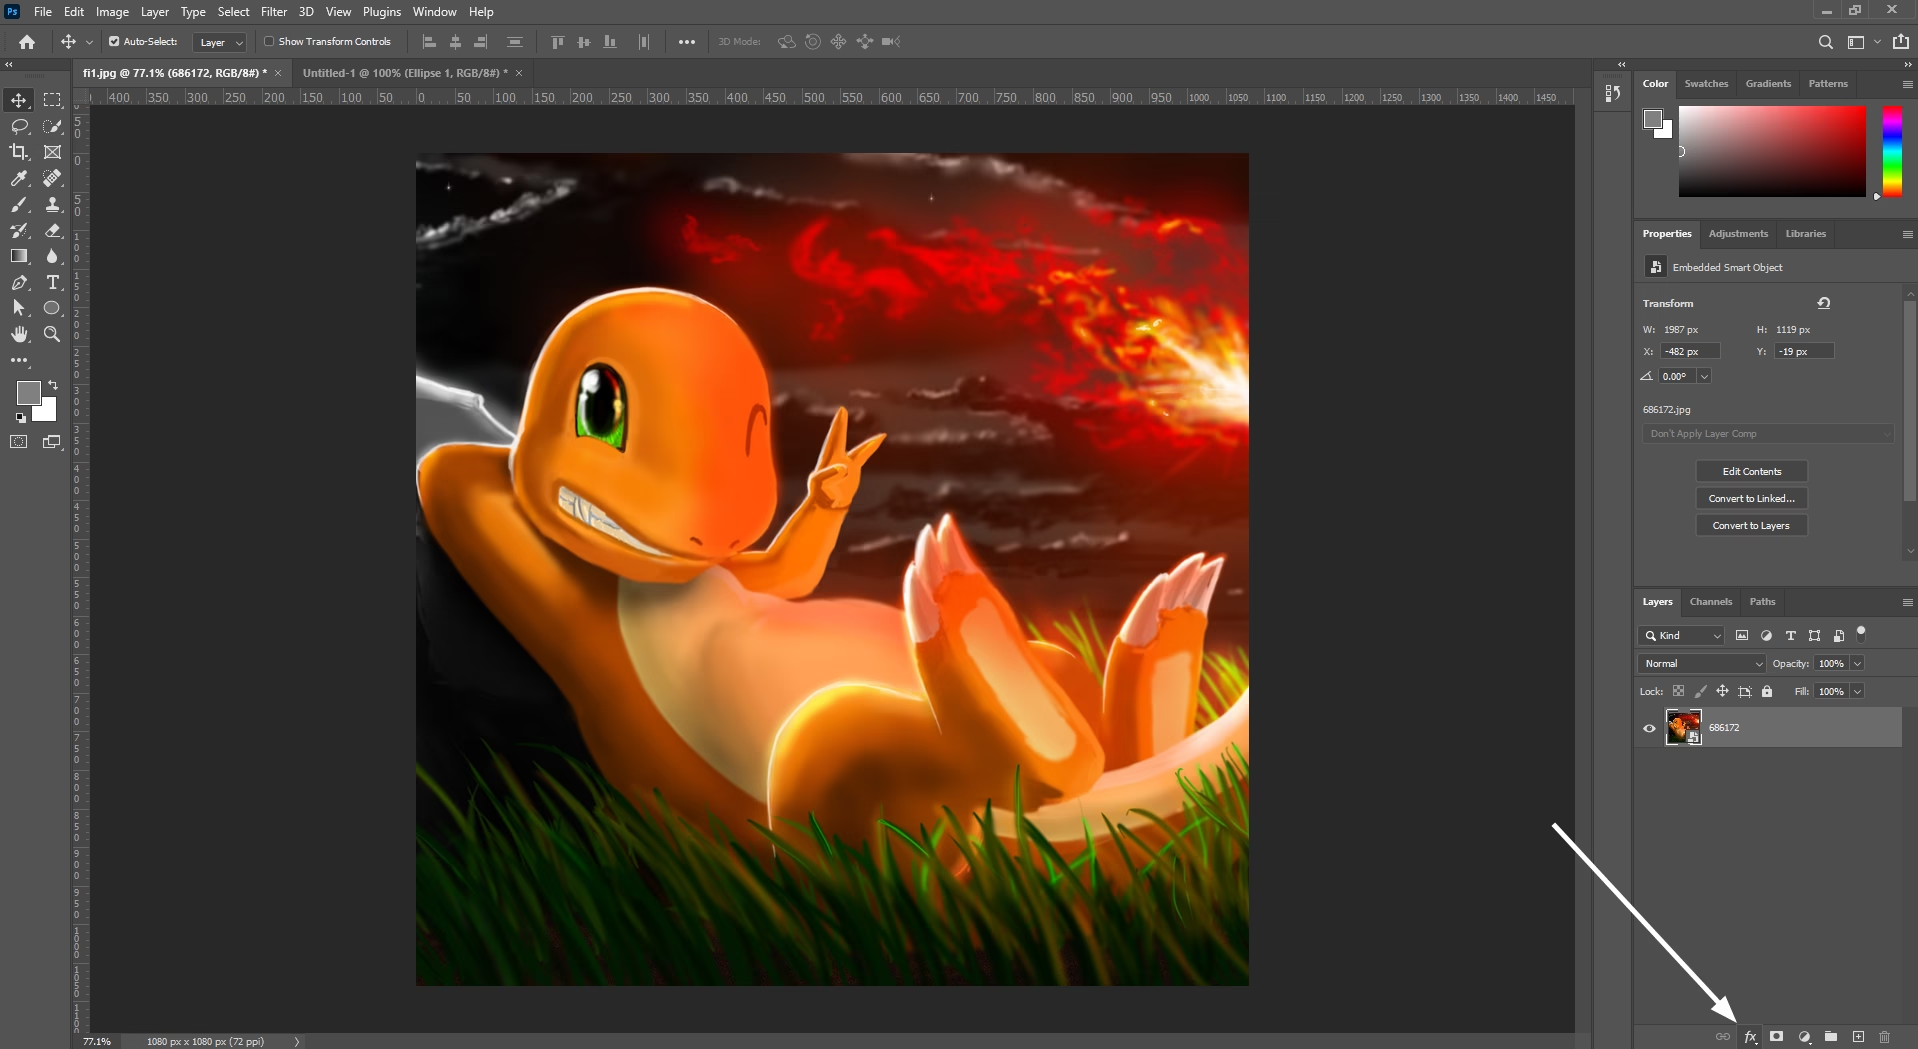
Open your Photoshop and Import your Image you want to convert into LEGO Style.
My canvas size is 1080px X 1080px.
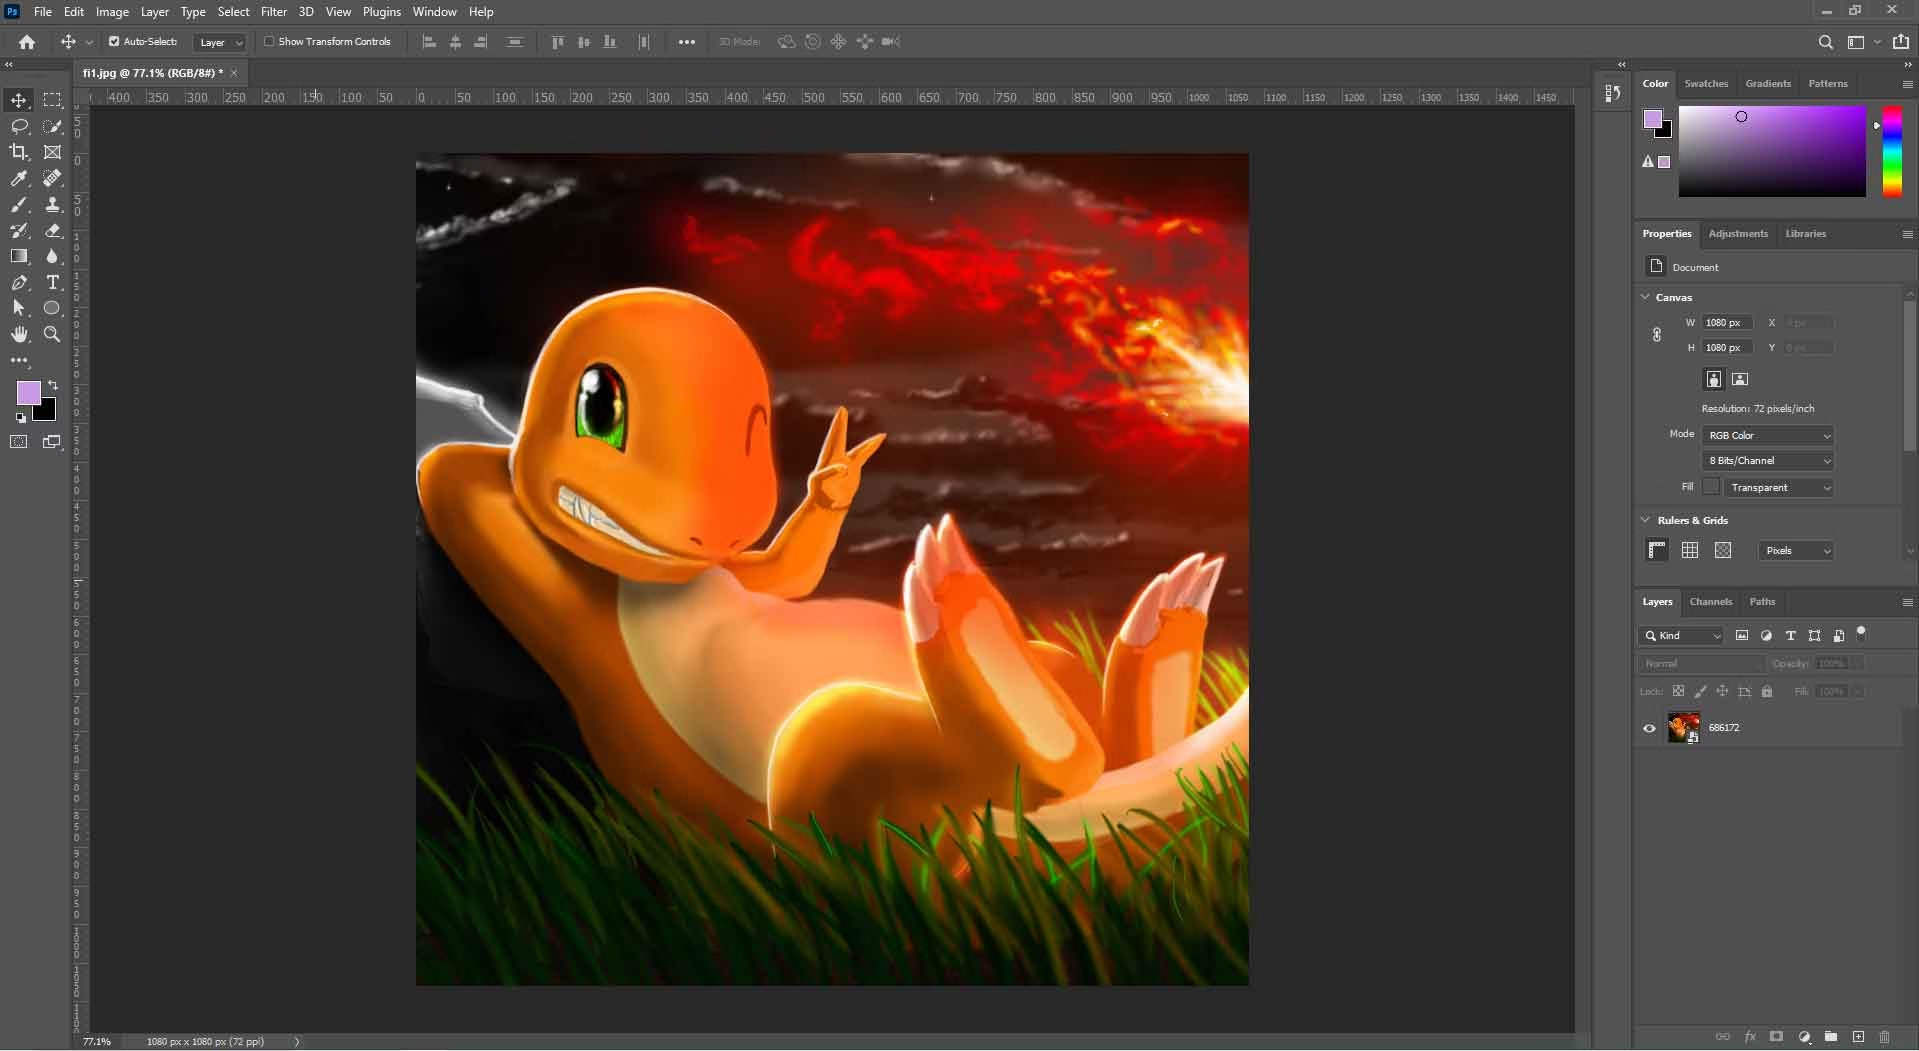
I am using this Cute Charmander.
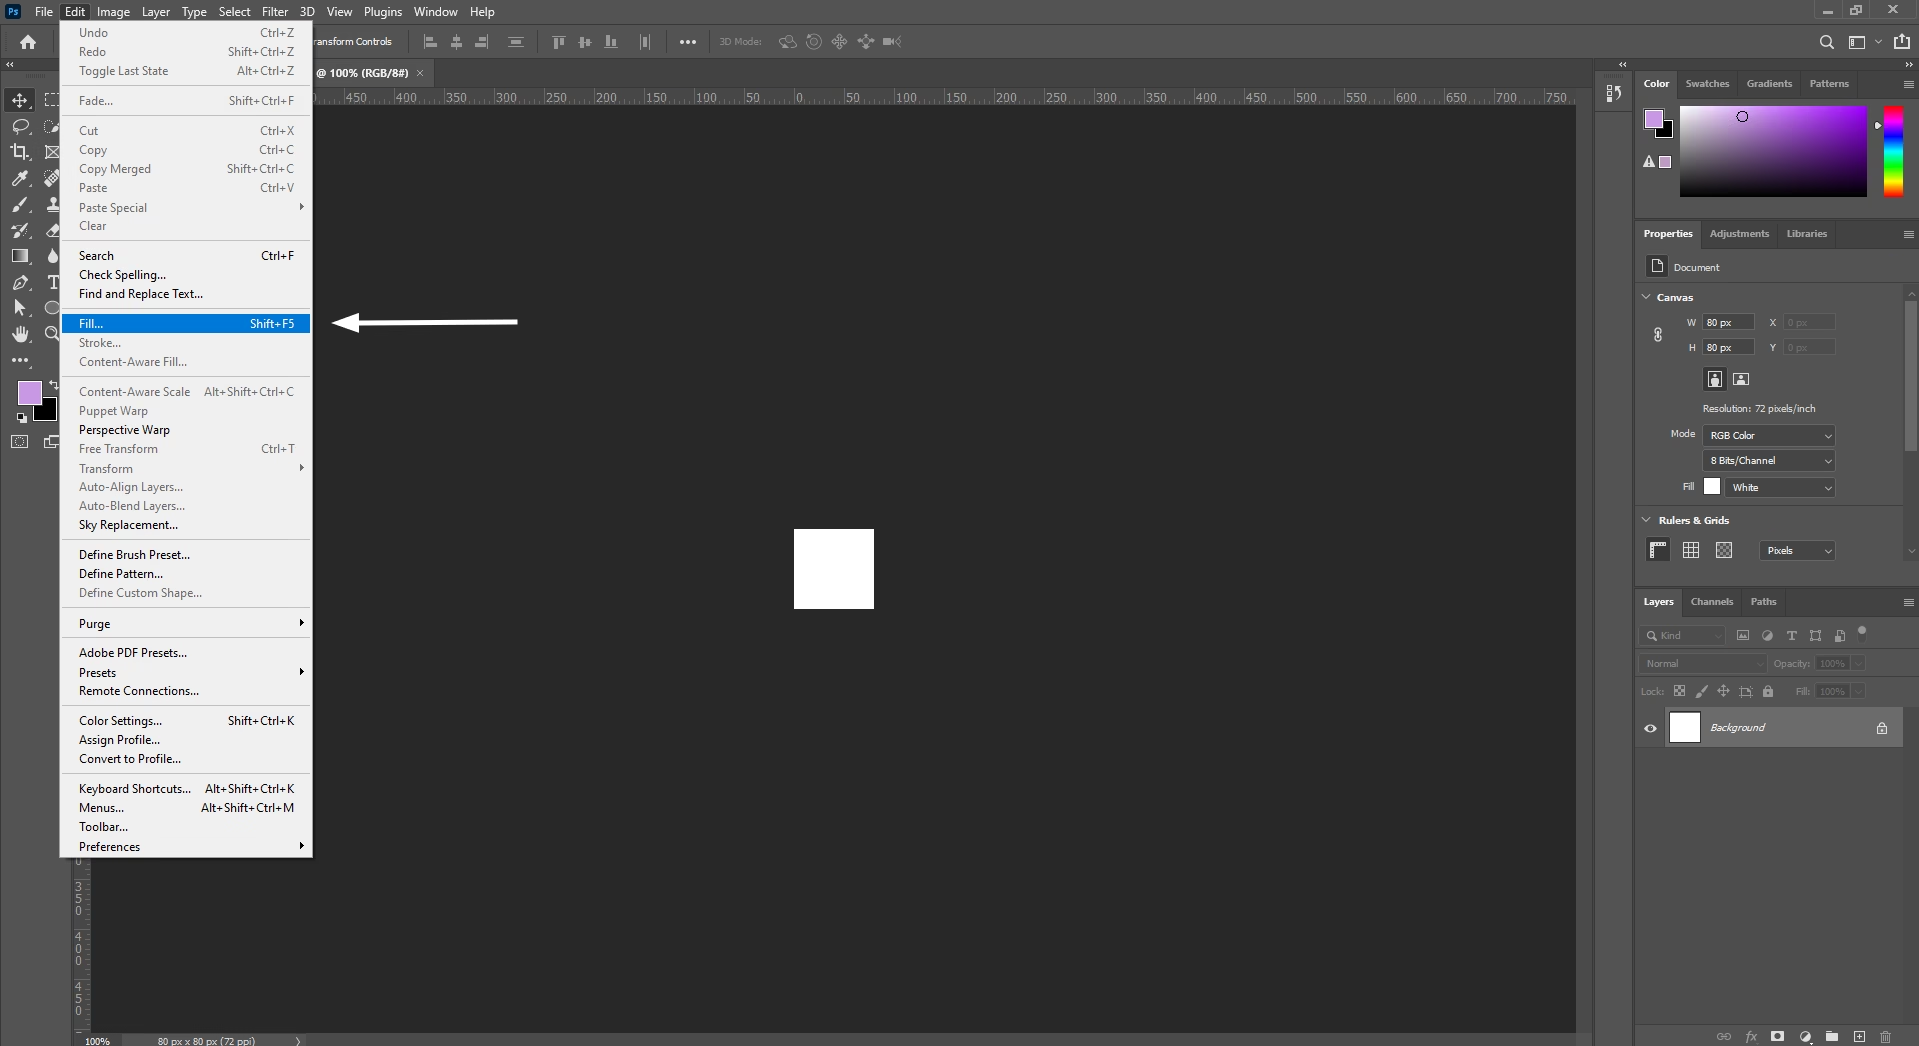
First create one more new Canvas.
Go to File ⇢ New
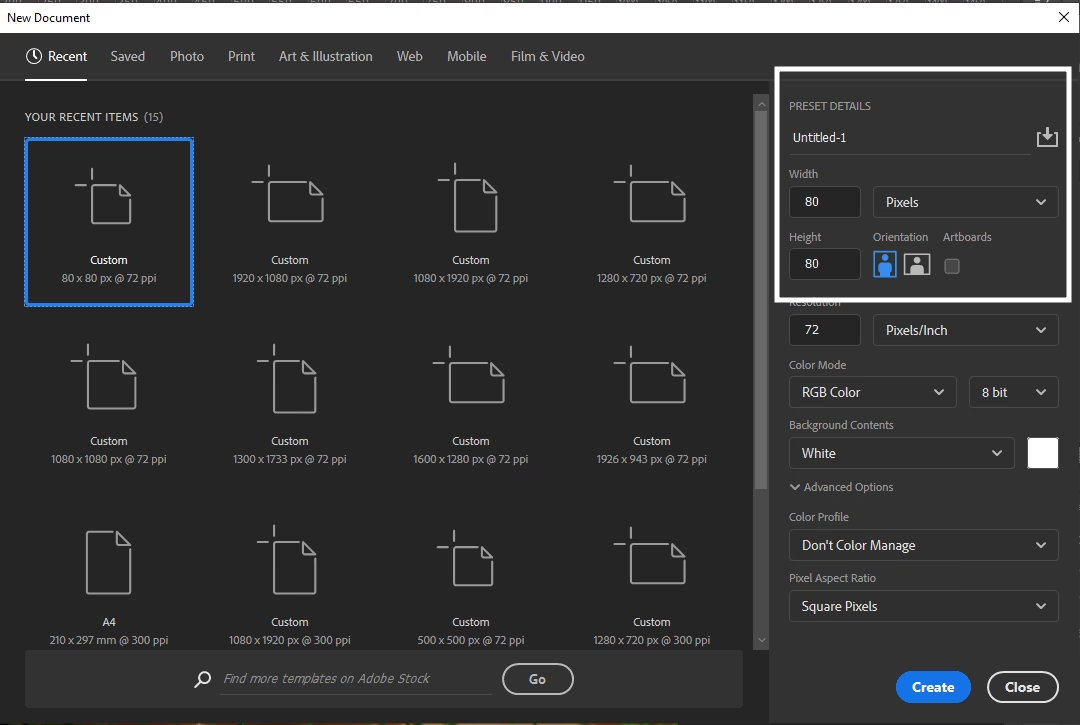
Make 80px X 80px new Doc
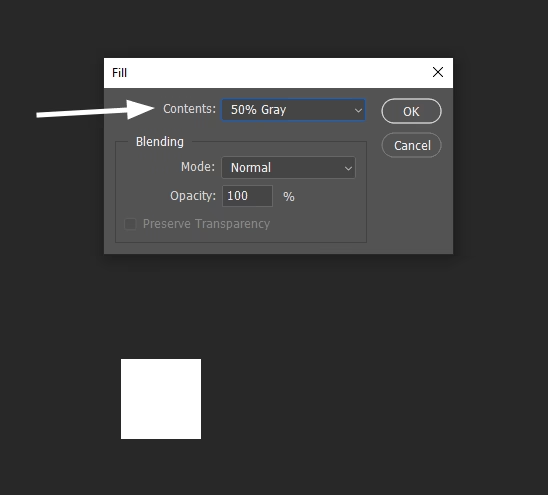
Go to Edit – Fill
in the Fill window ⇢ Select 50% Gray
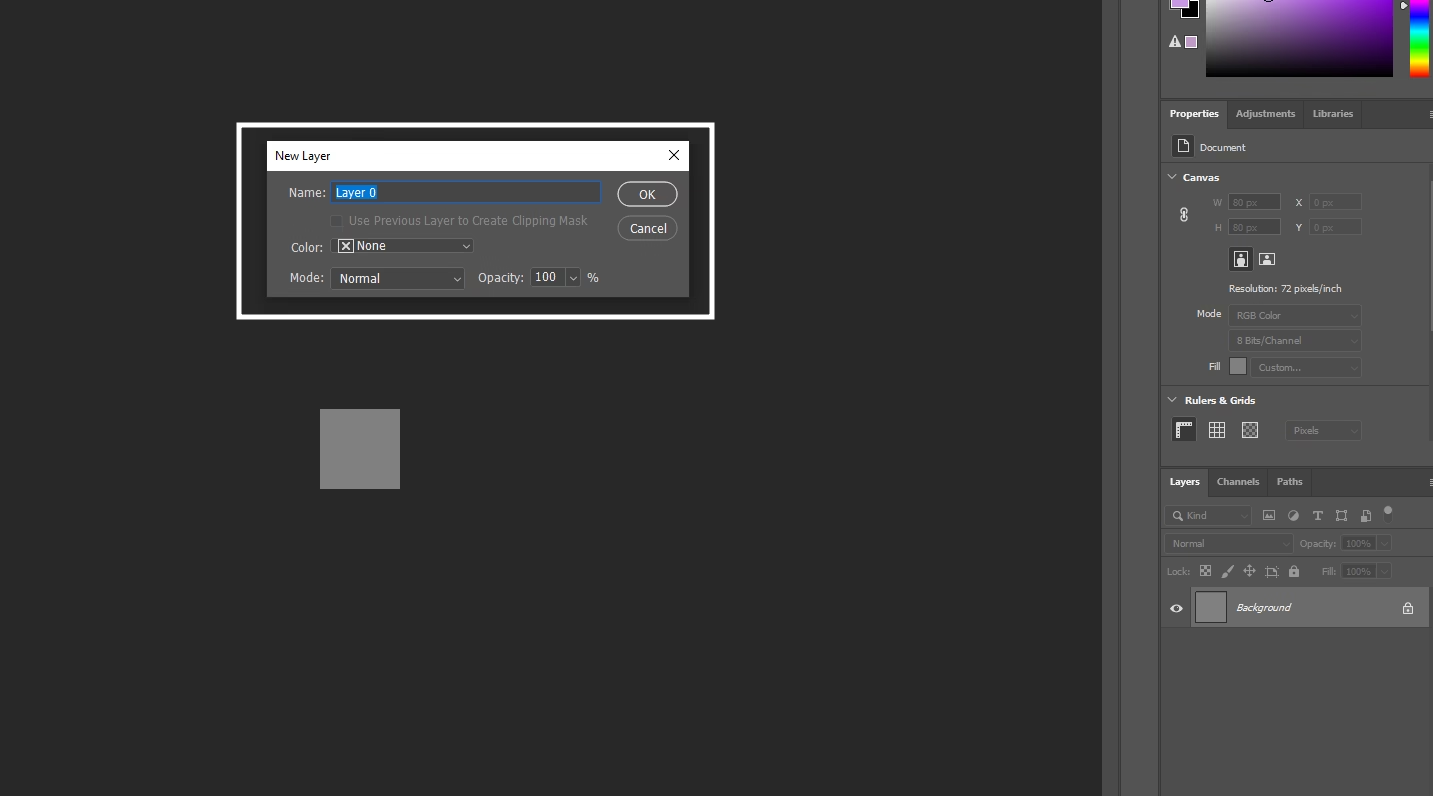
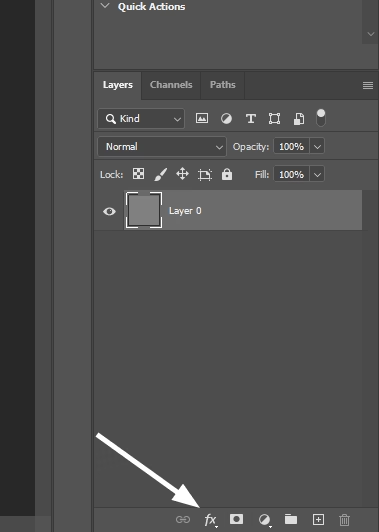
Now convert your Background layer into Normal Layer as Shown
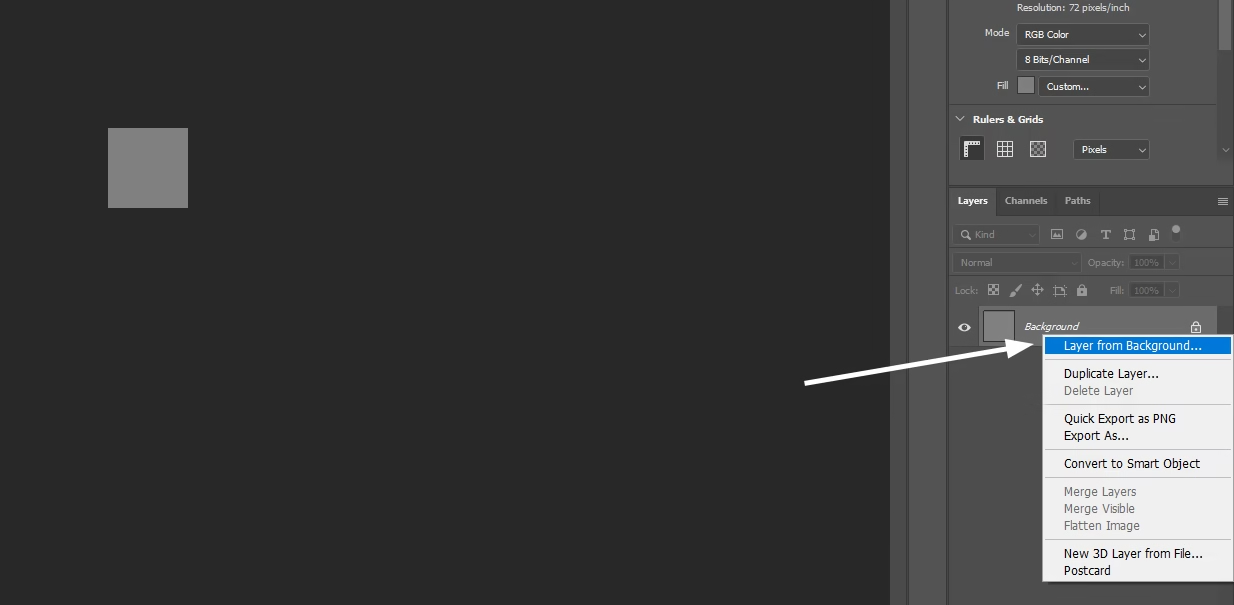
You can give the Layer a name( I am leaving as it is )
Now we need to change it’s Blending Option
Select Blending Options…
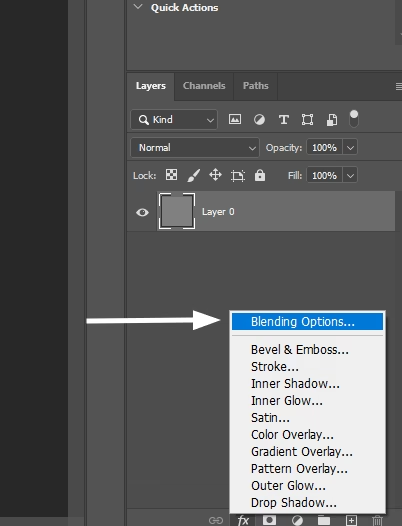
In Layer Style ⇢ Select ⇢ Bevel & Emboss
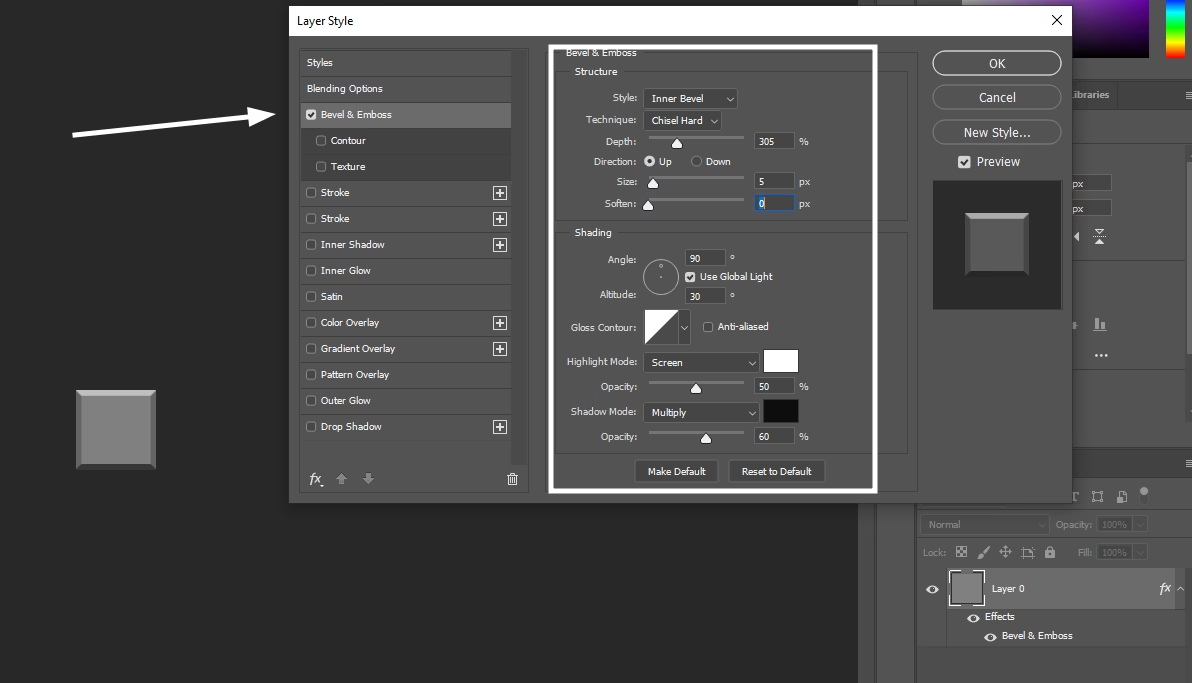
Keep the values as shown, you can change or do experiment later.
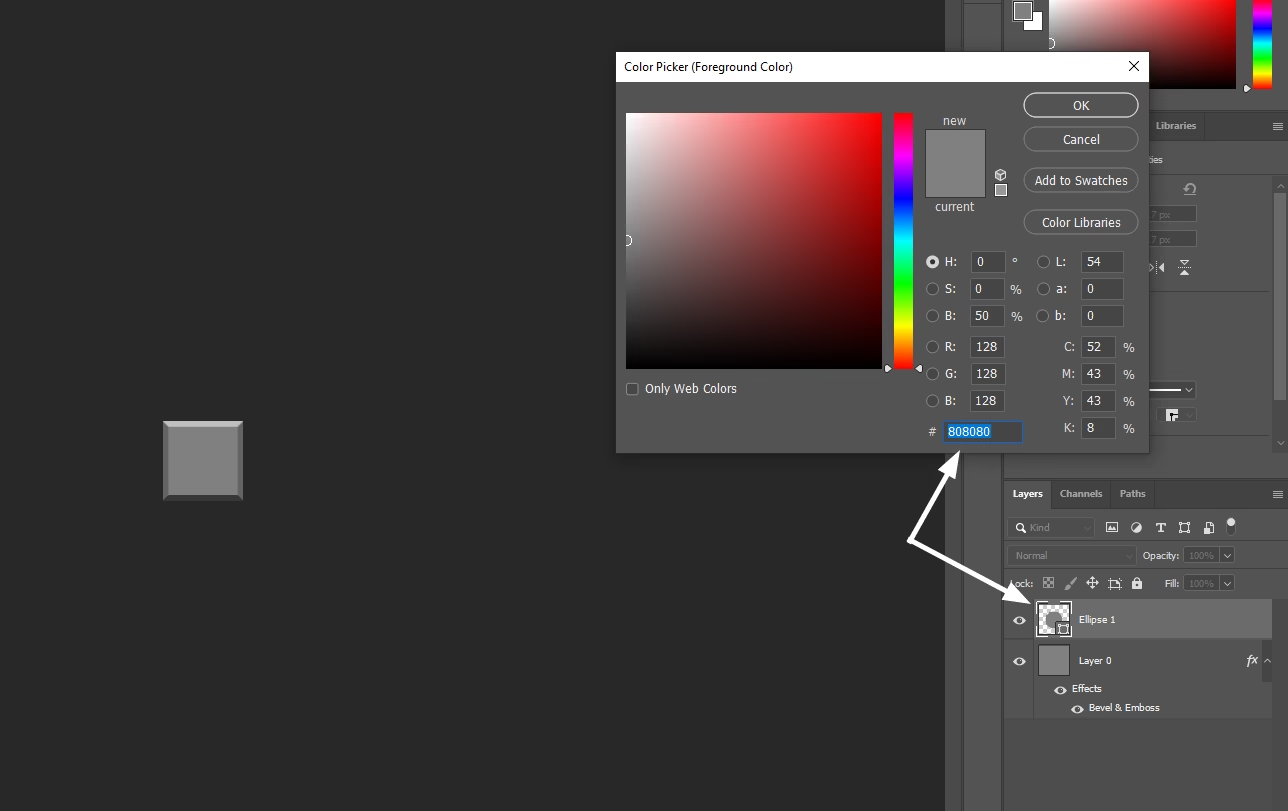
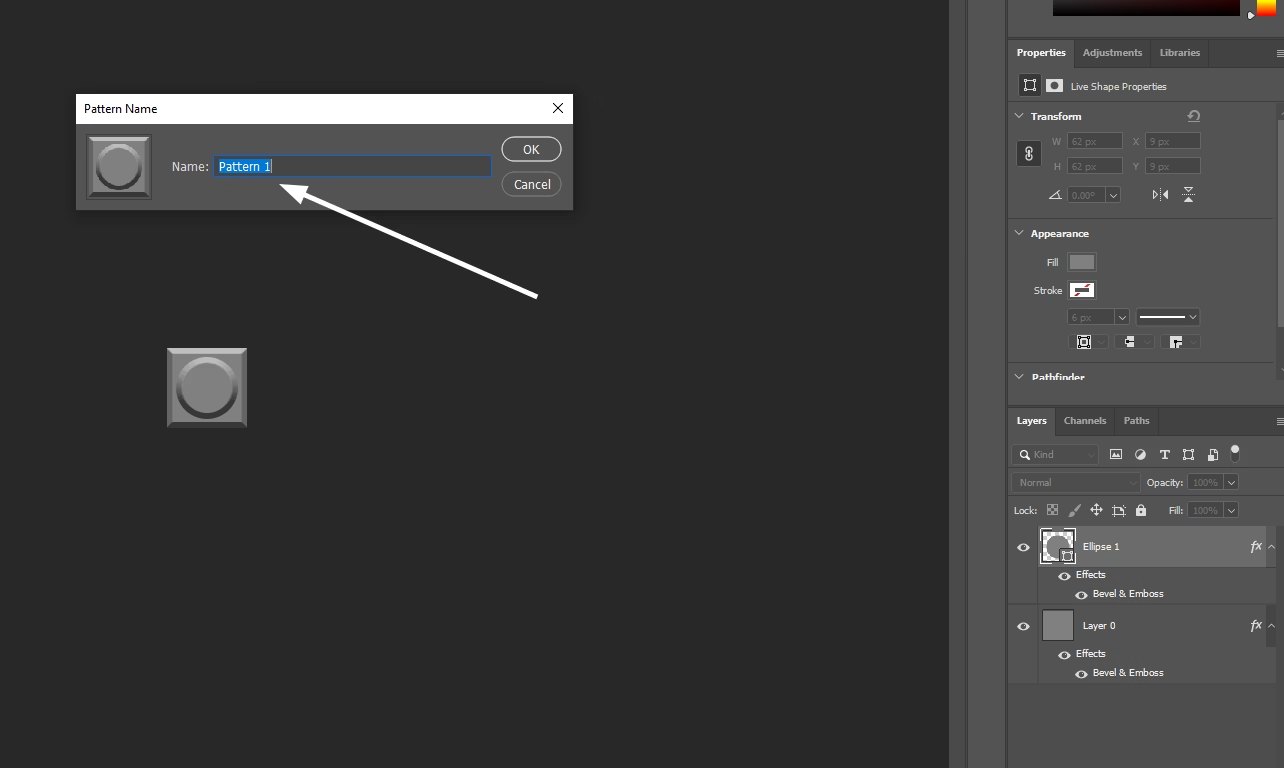
Now add a Circle and Align in the Middle
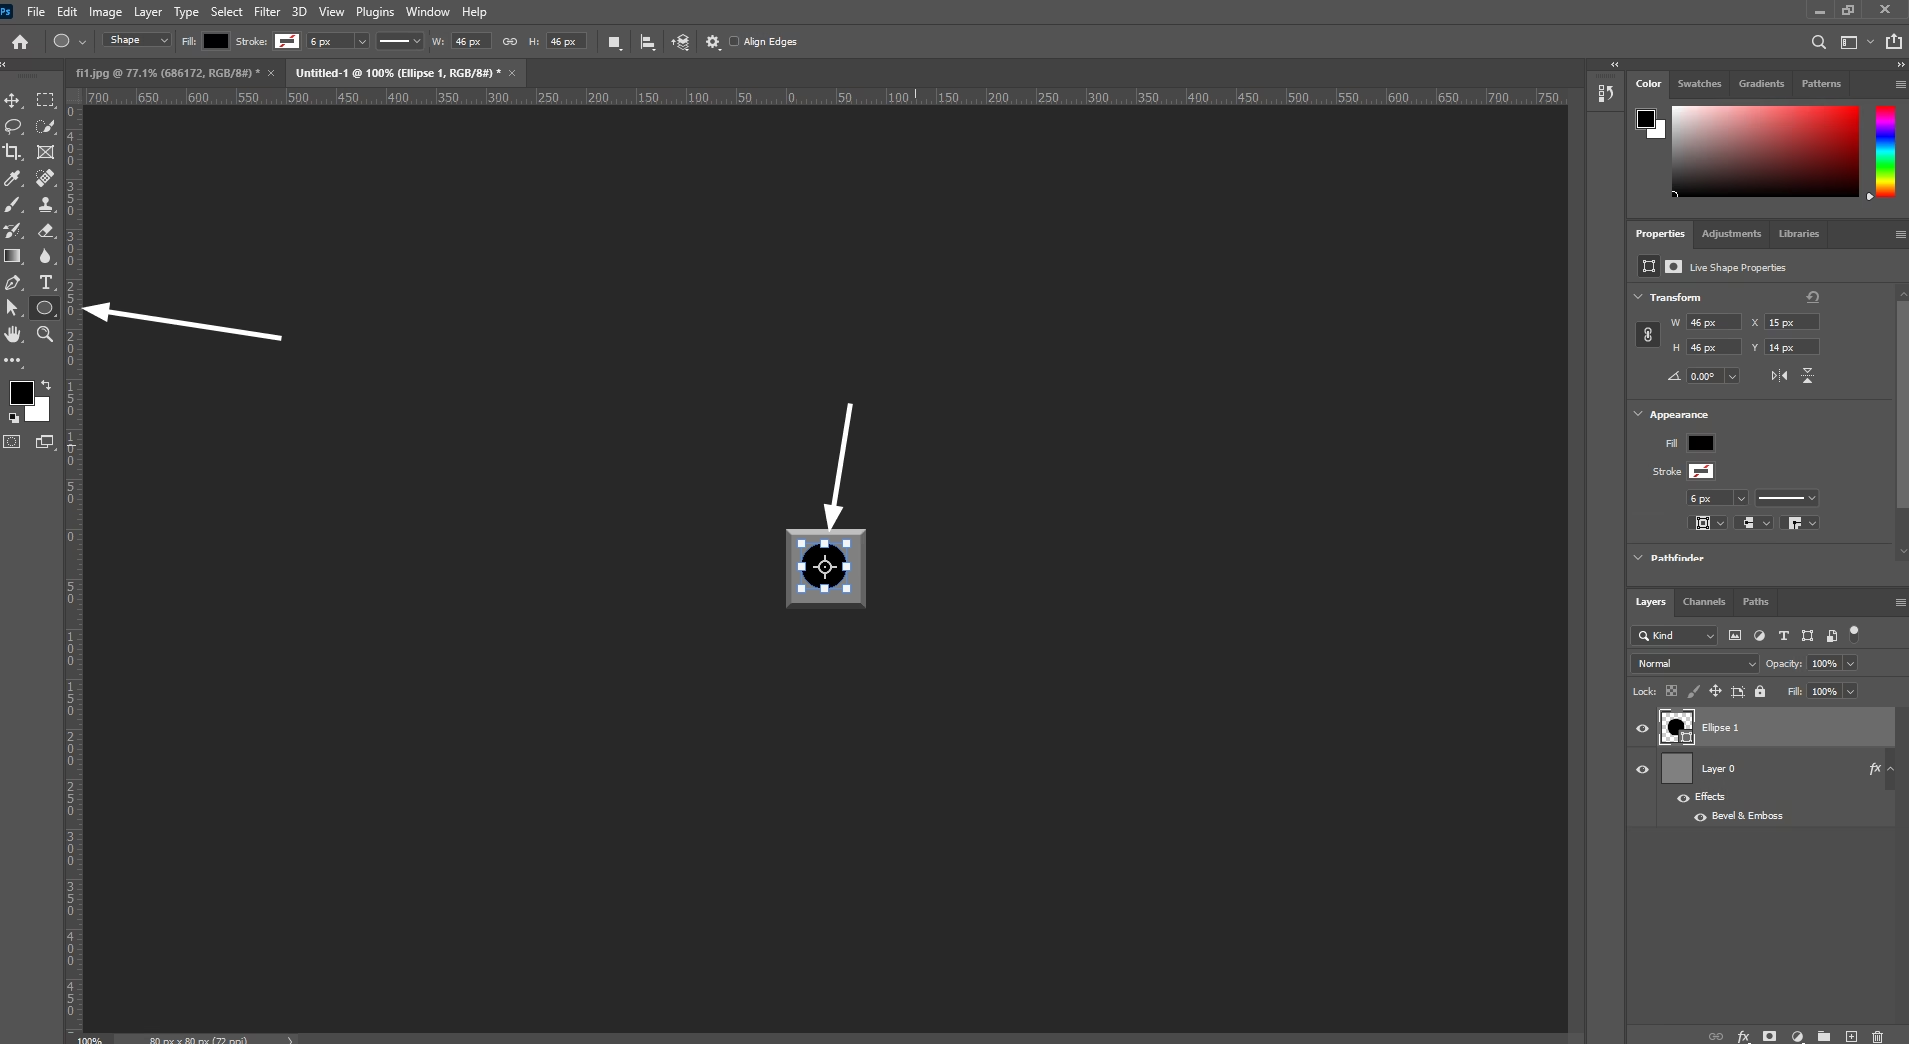
Change it’s color to: Gray #808080
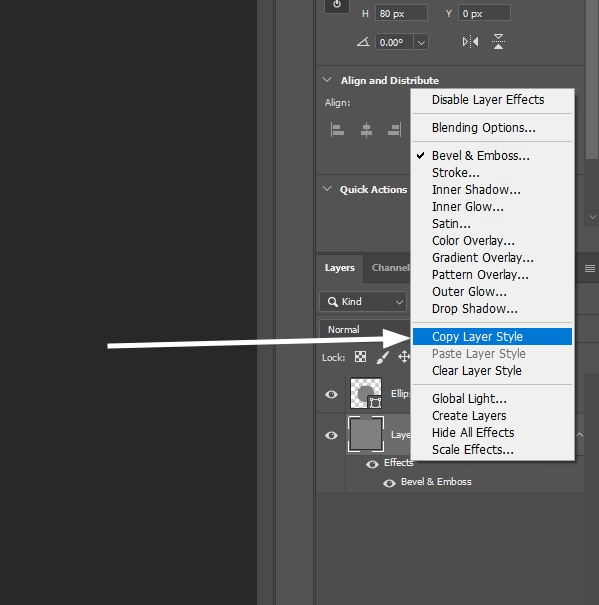
Copy the Effect of the First Layer and Paste it in New Circle Layer ( Right Click on Layer )
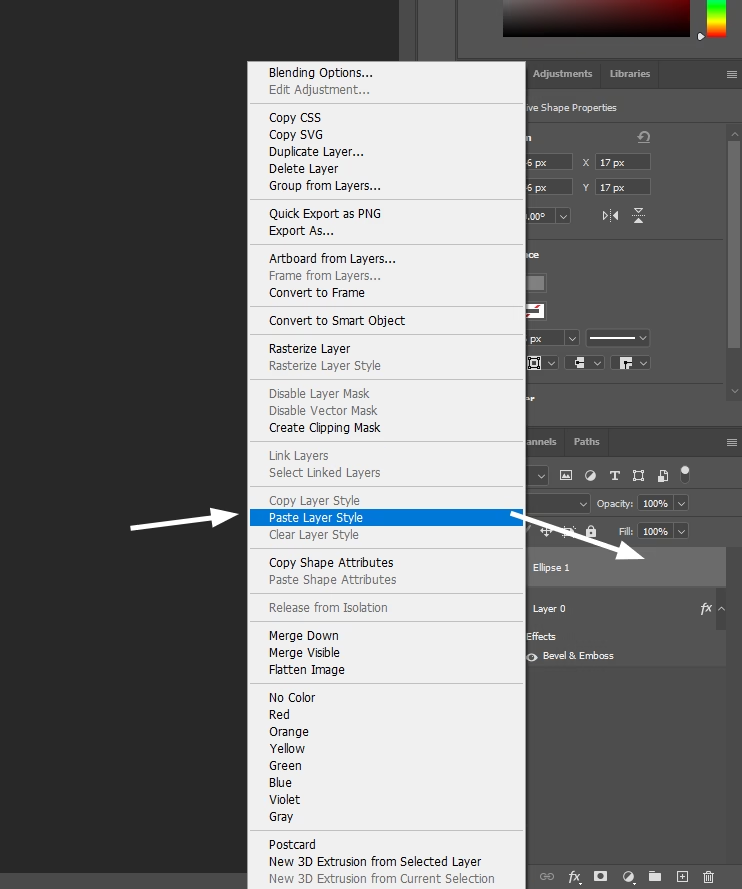
Now Paste it in the Circle Layer
Result look like this.

Go to Edit ⇢ Define Pattern…
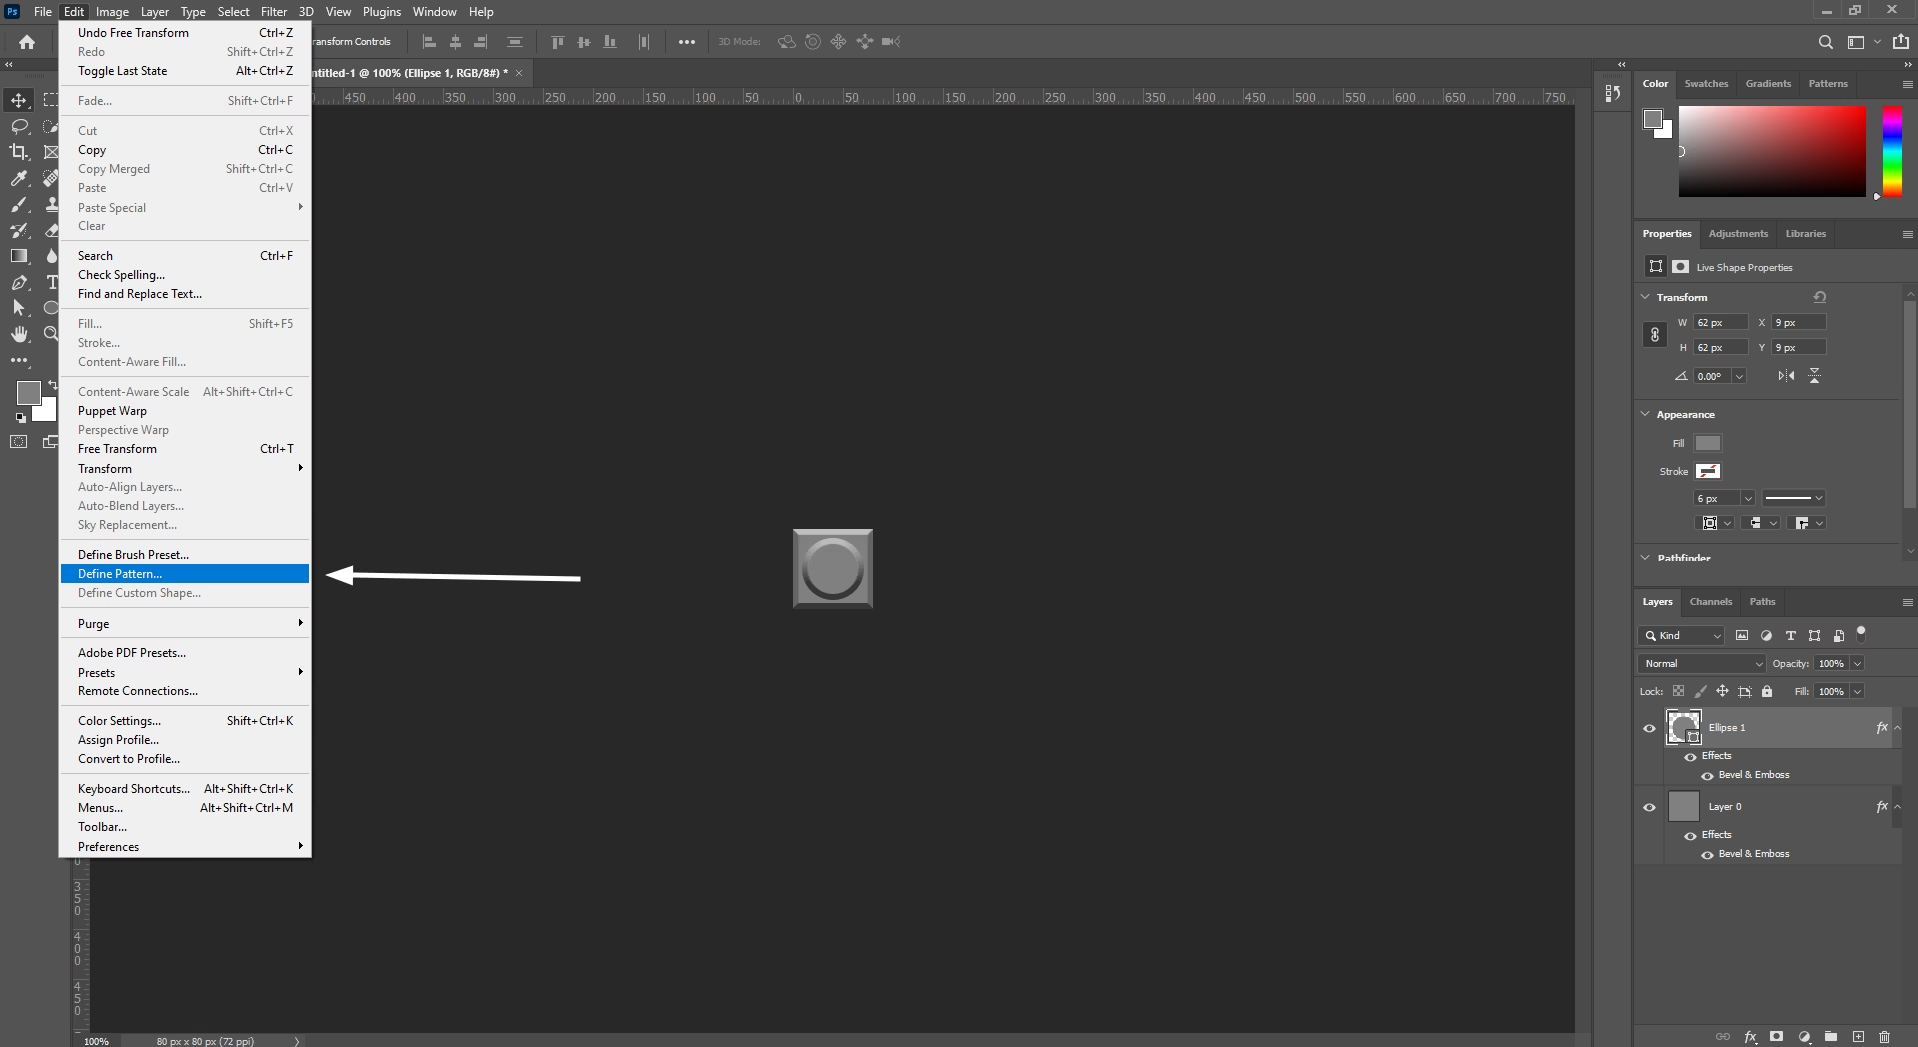
You can give a Name to the Pattern
Now Come Back your Original Image and Add Pattern Overlay
Select Pattern Overlay
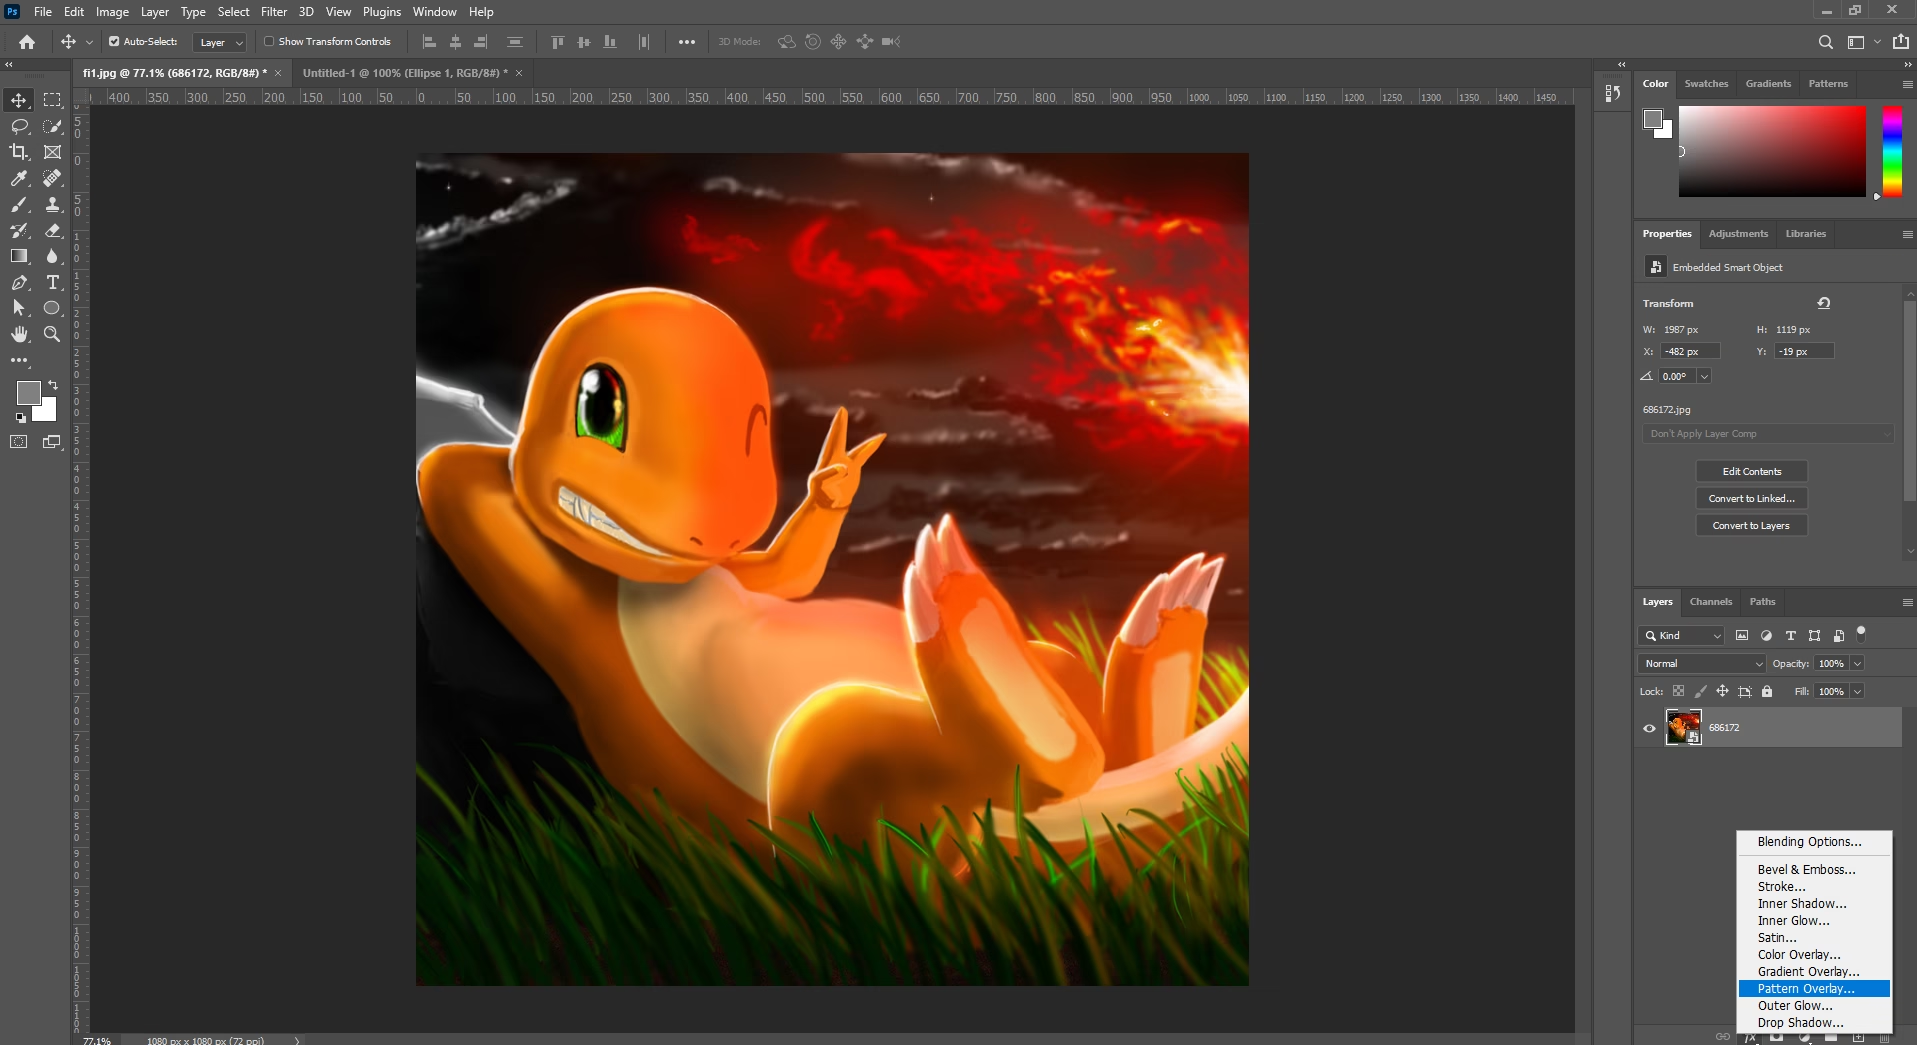
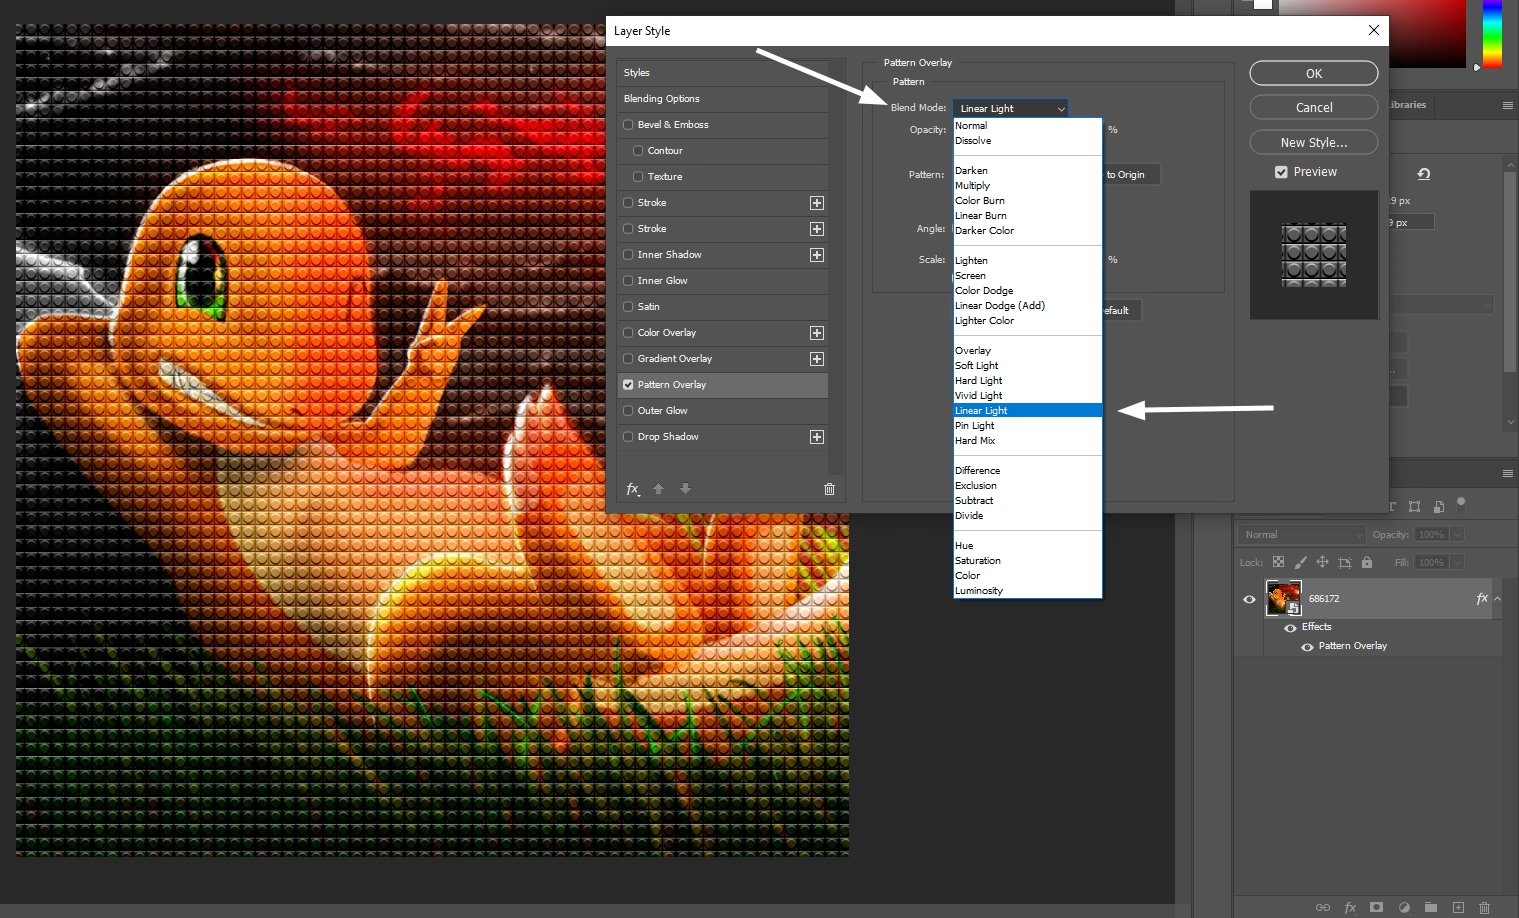
Now Select the Pattern we just made.

and Select the Blending mode ⇢ Linear Light
And that’s it, your photo is now a LEGO-inspired artwork. Experiment with different images, colors, and lighting to get unique results every time. Keep exploring, keep creating, and push your Photoshop skills beyond the ordinary.


Leave a Reply